Here is a description of your company. Lorem ipsum dolor sit amet, consectetur adipiscing elit. Ut dapibus, felis id malesuada blandit, turpis lacus vehicula risus, quis rhoncus libero.

Here is a description of your company. Lorem ipsum dolor sit amet, consectetur adipiscing elit. Ut dapibus, felis id malesuada blandit, turpis lacus vehicula risus, quis rhoncus libero.
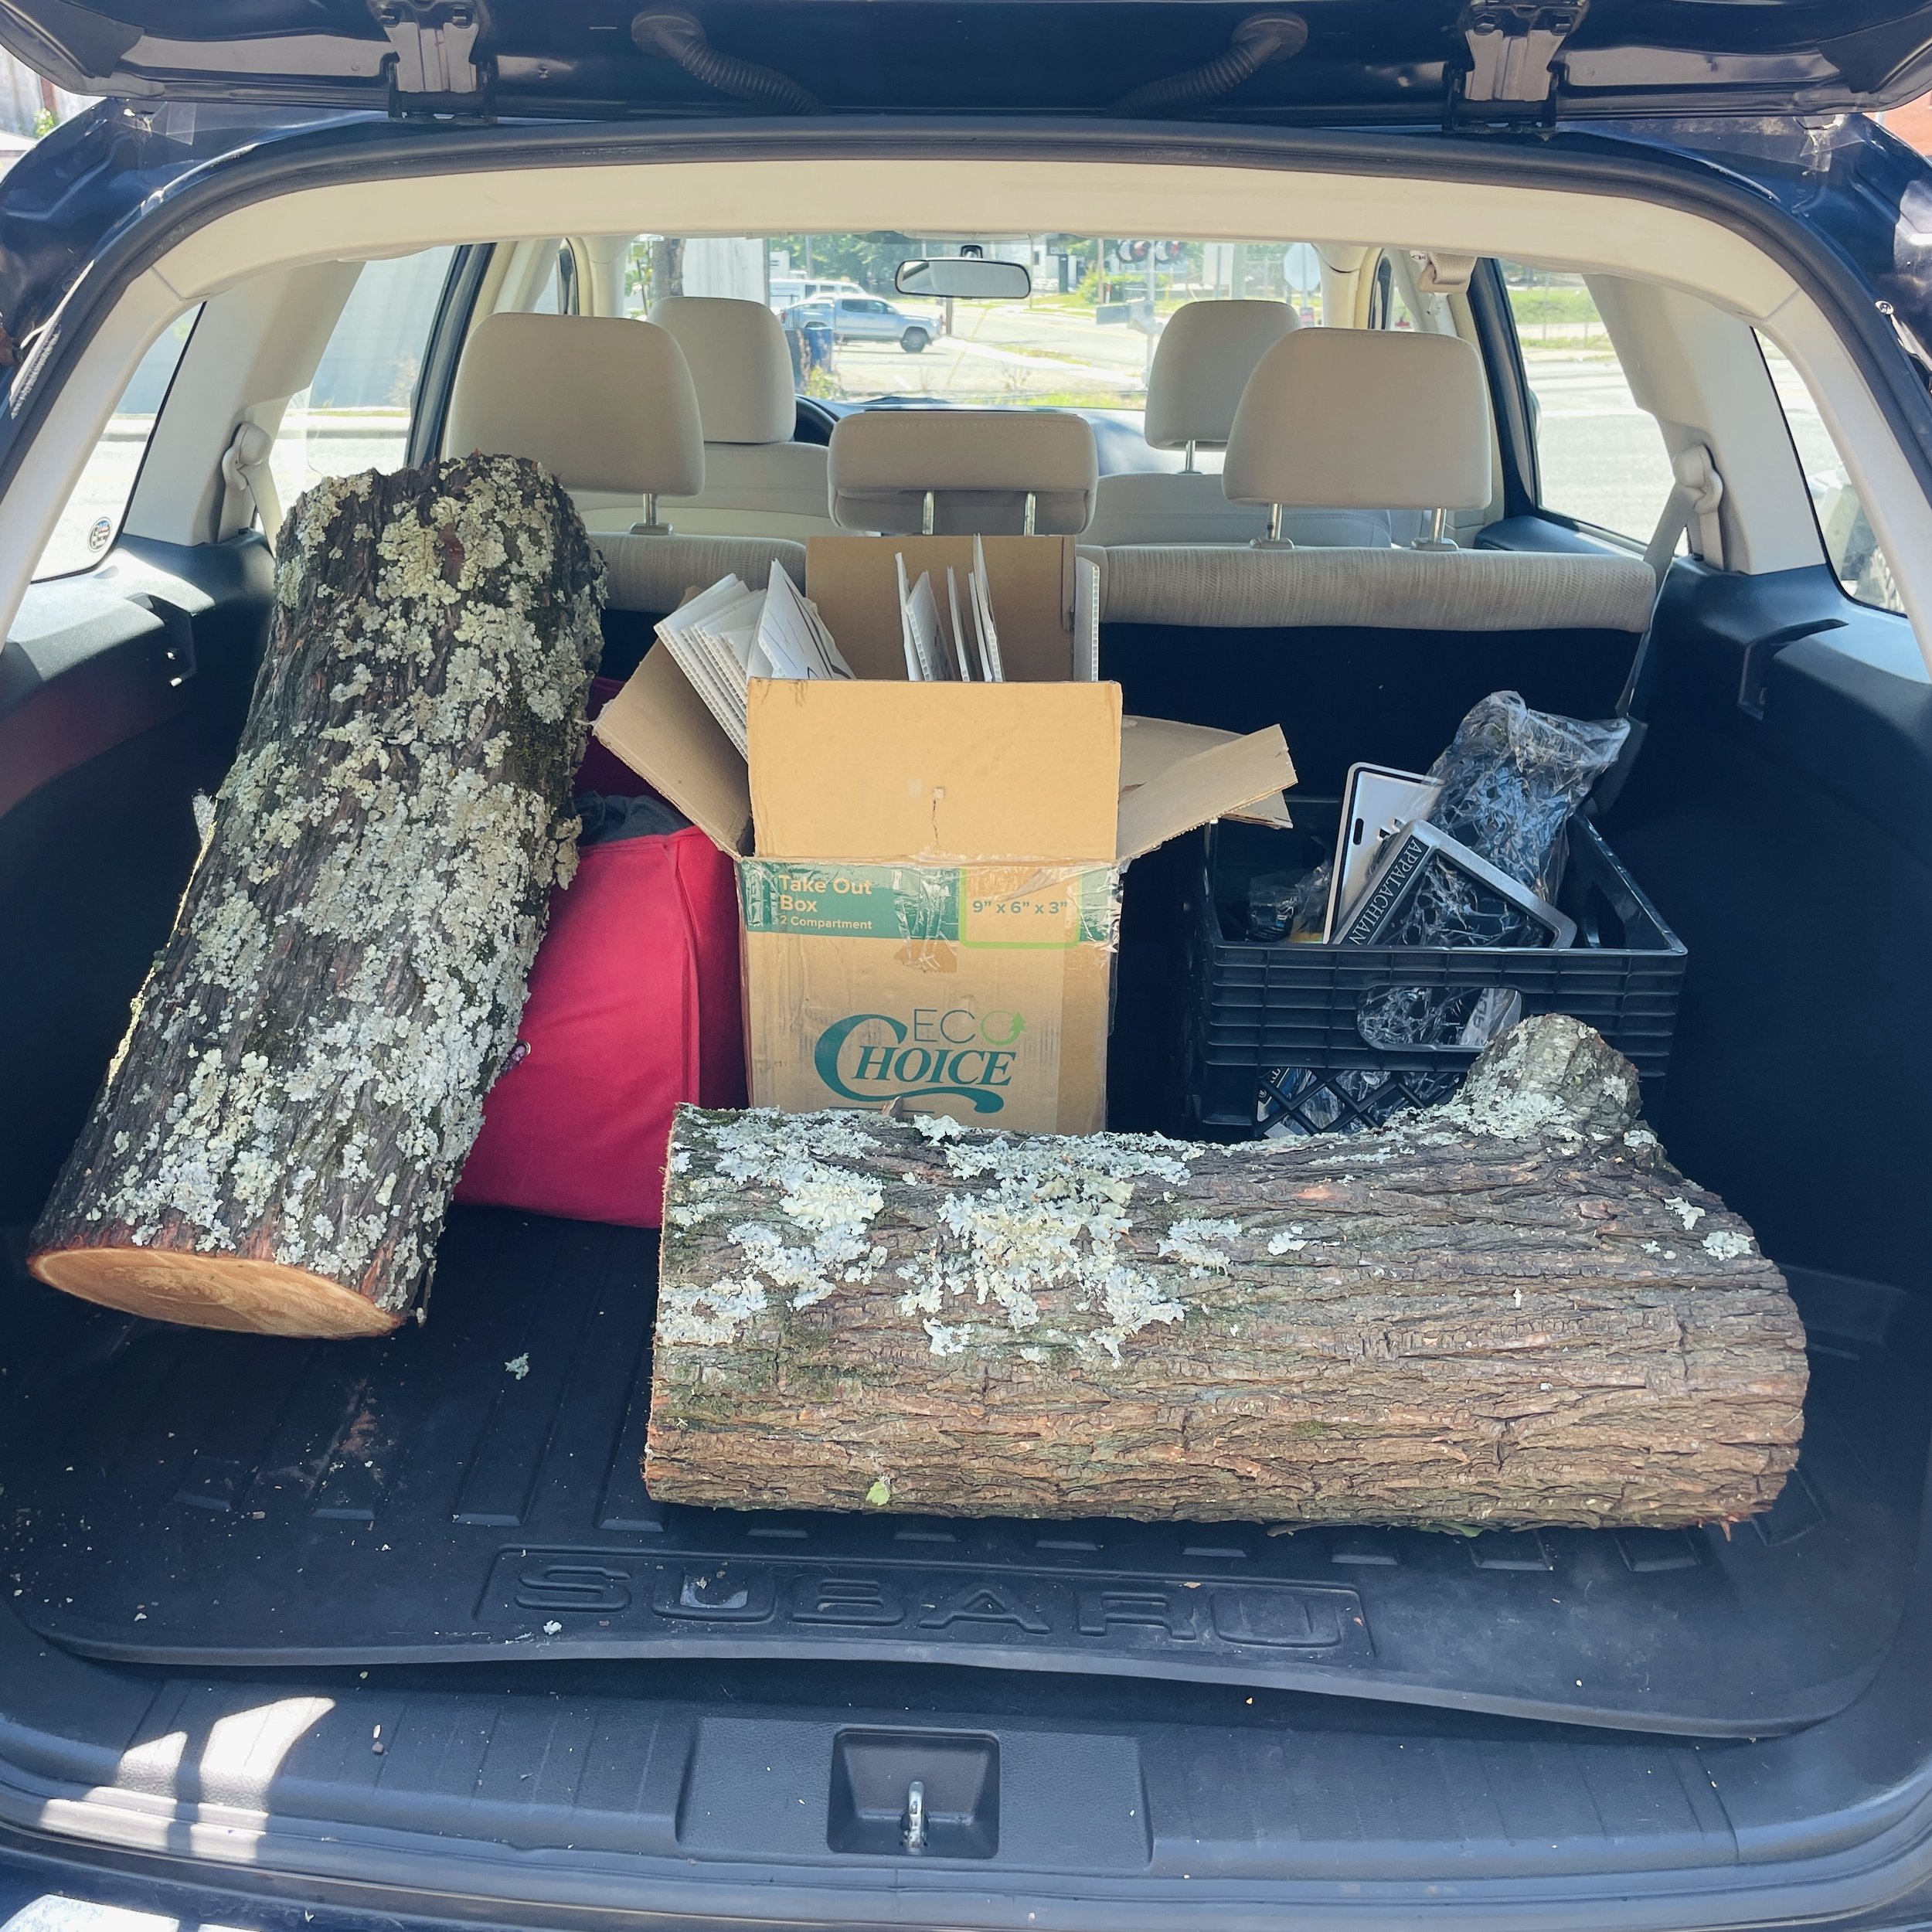
On the side of the road. Downed trees after a storm. Friends and family who “have a friend who is getting their black walnut tree taken down, do you want some wood?”
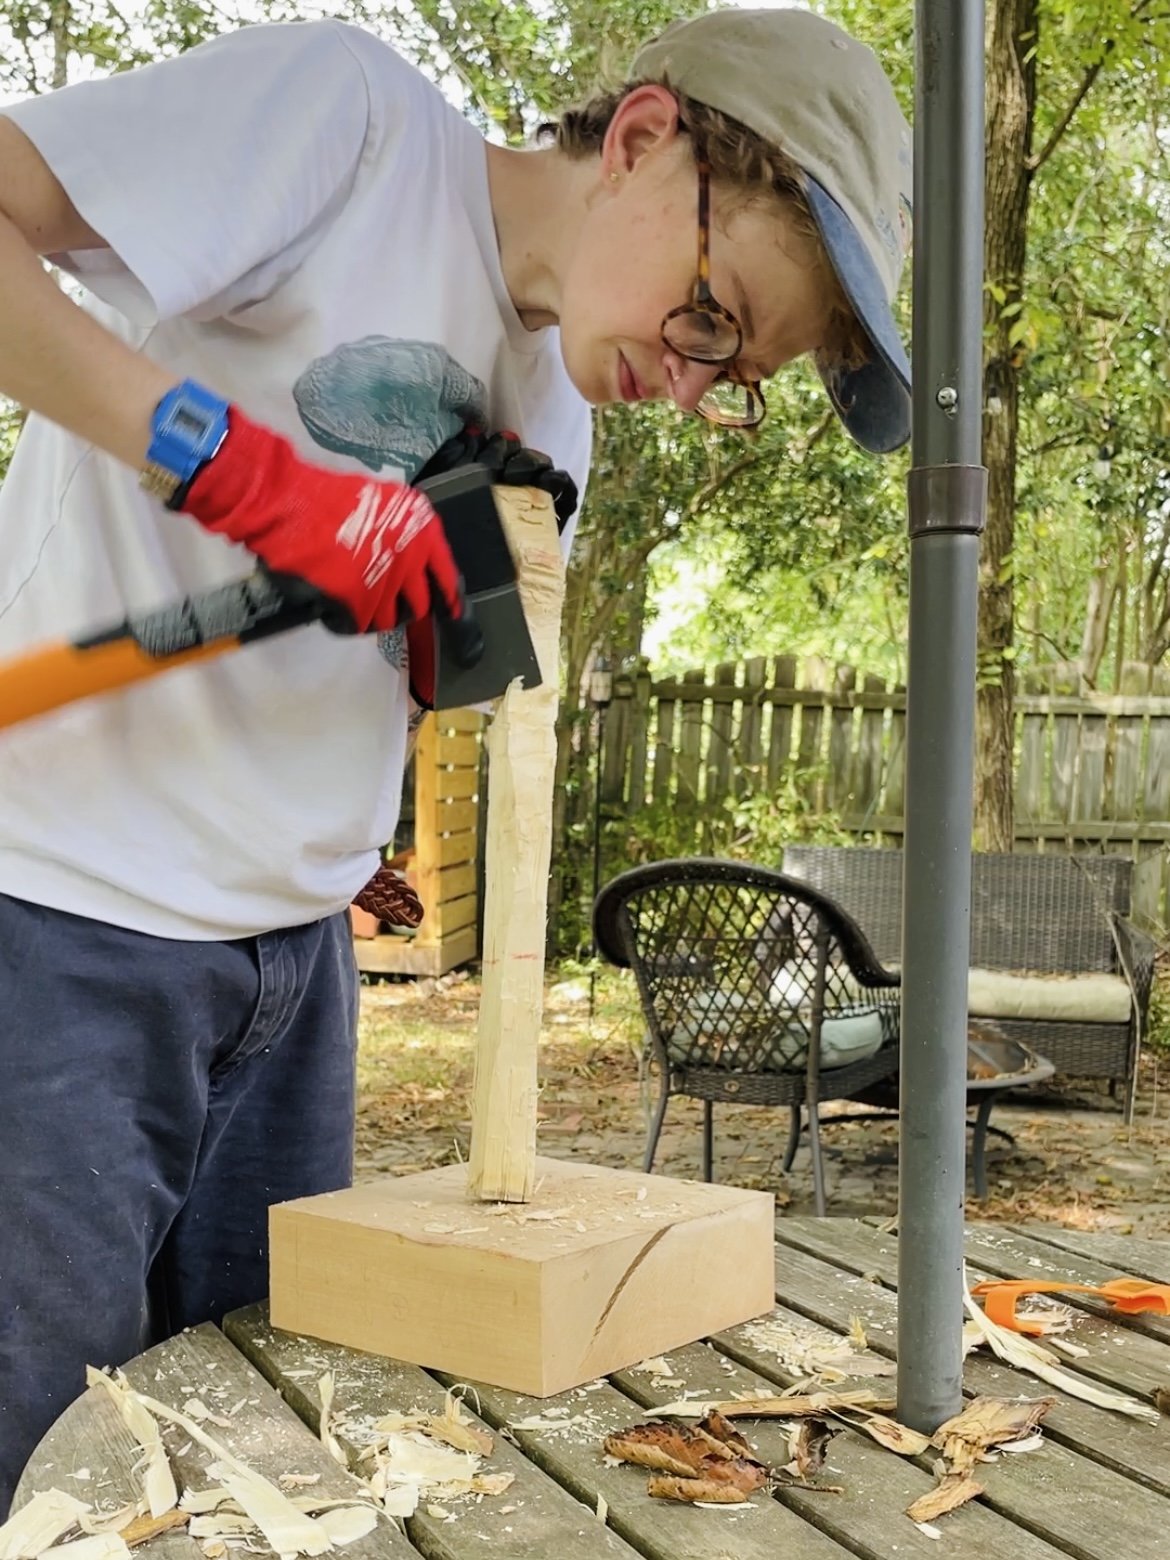
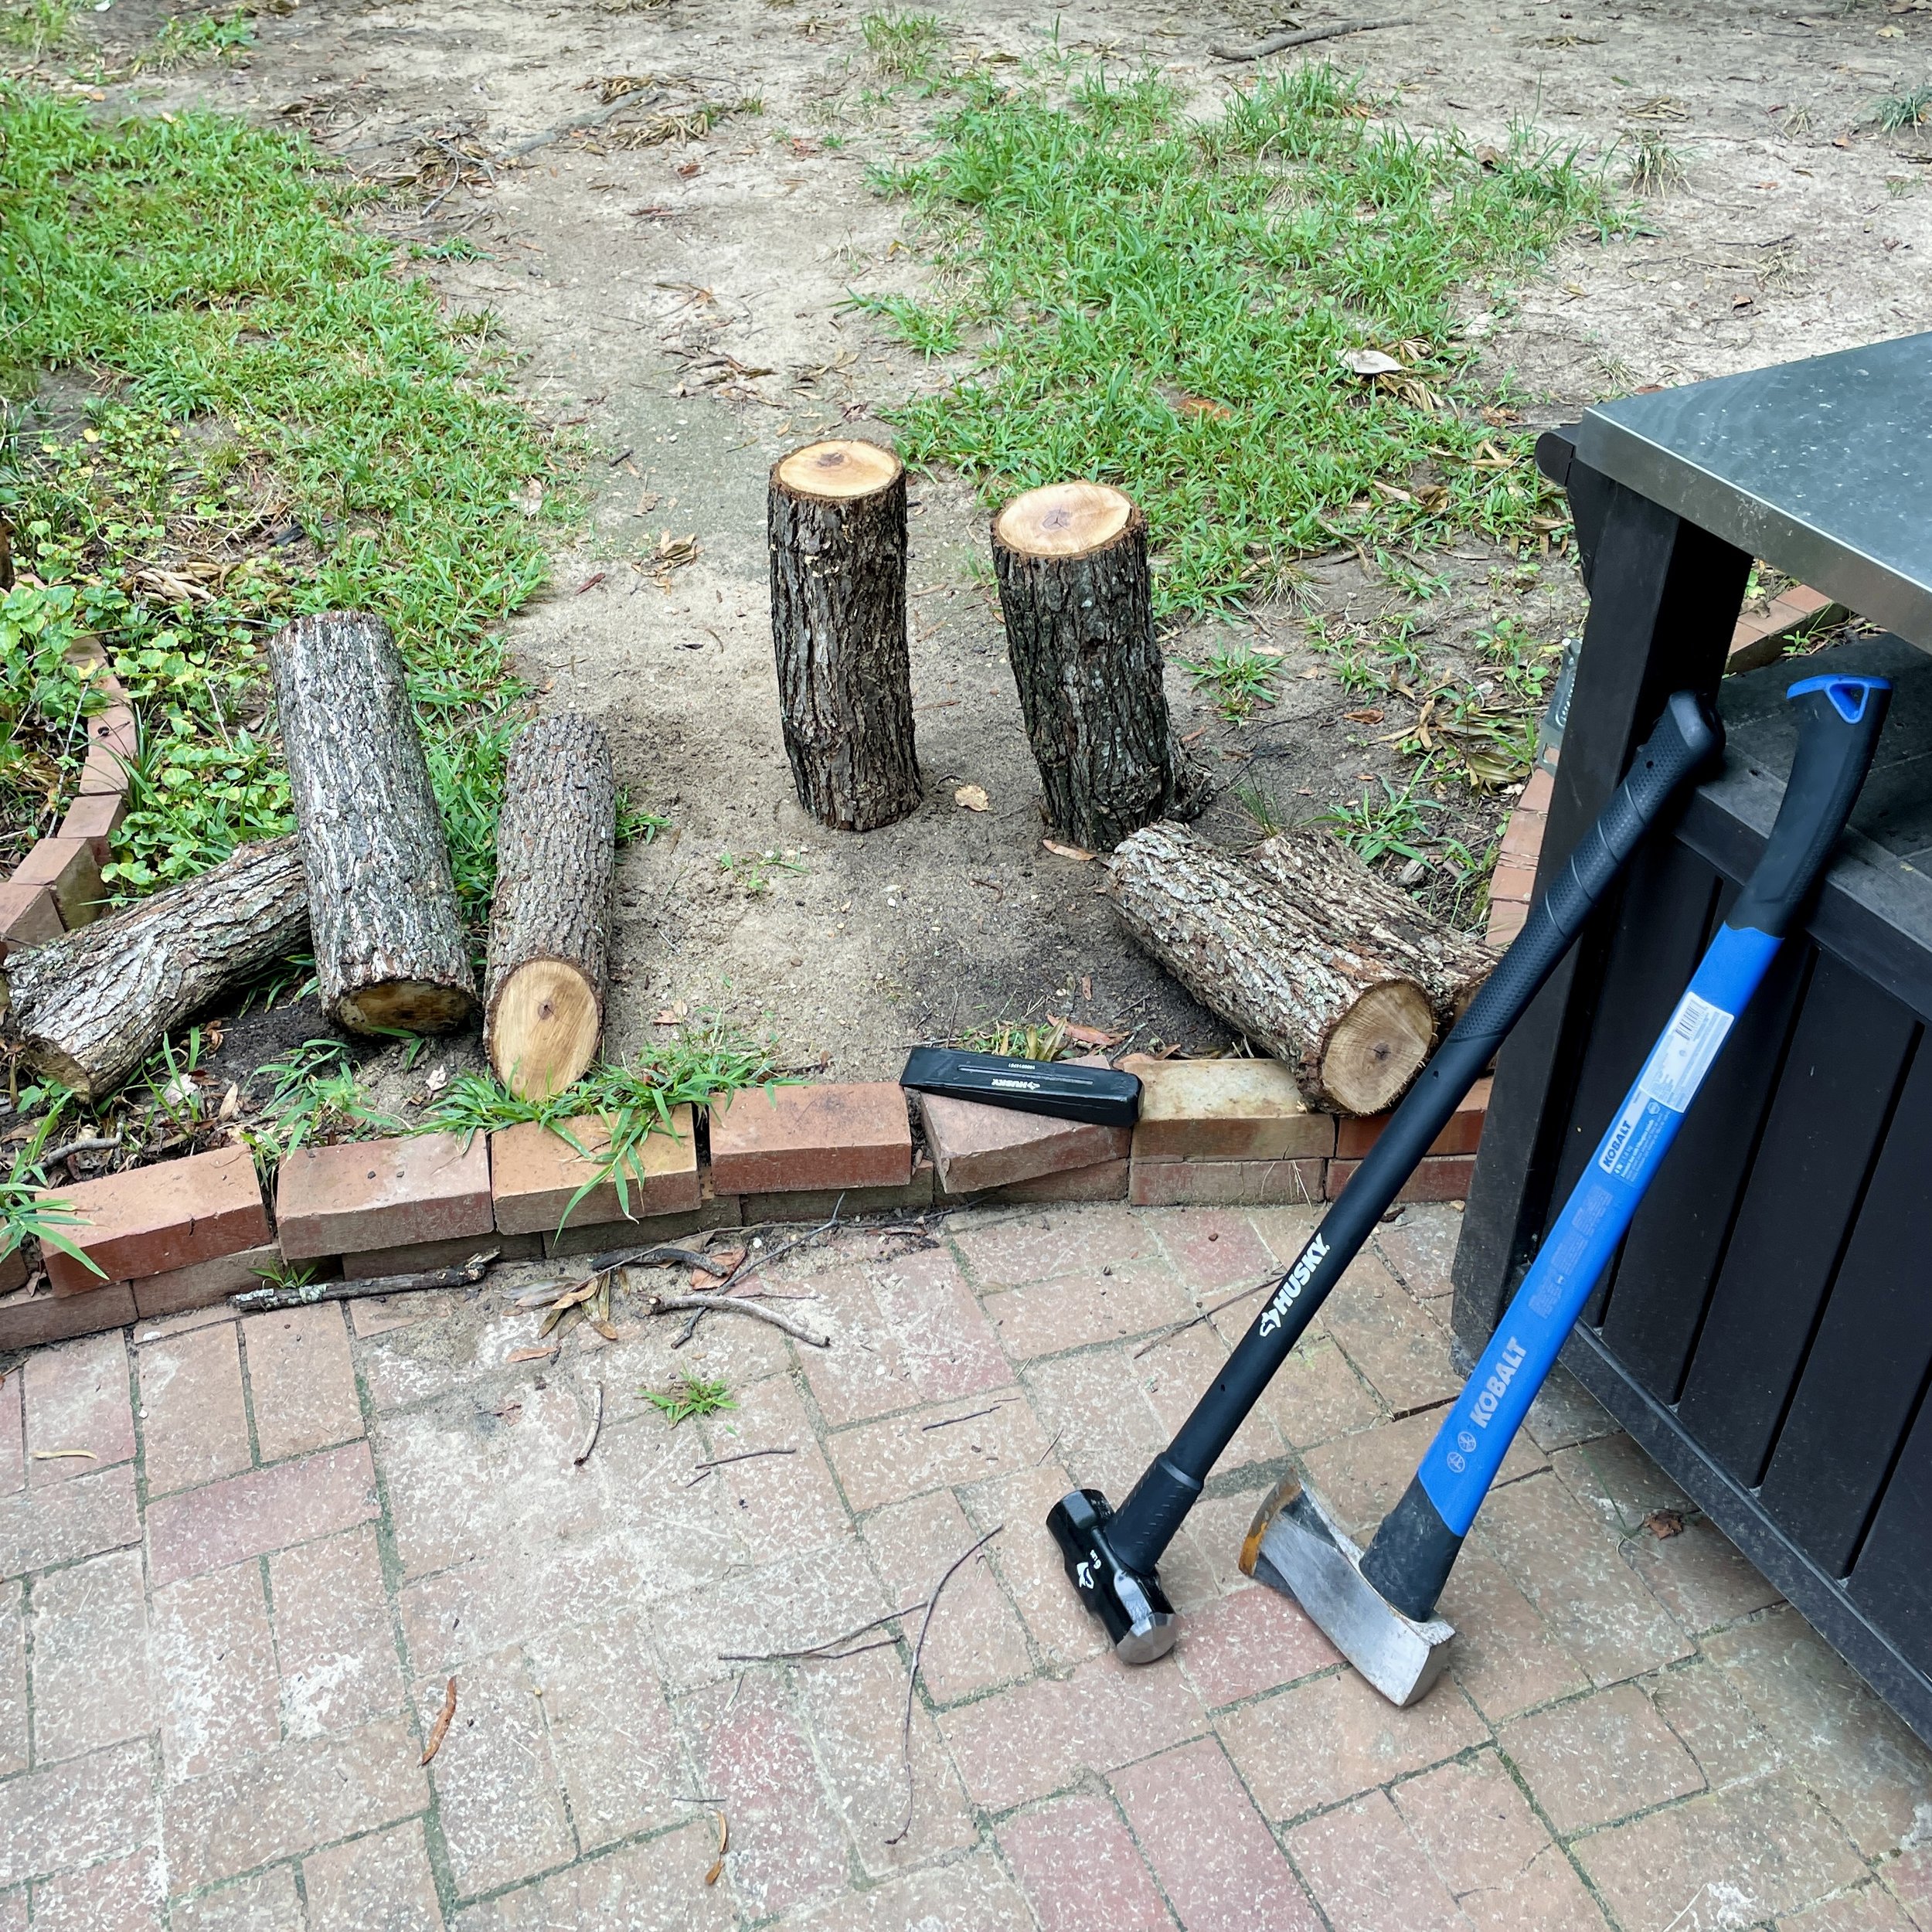
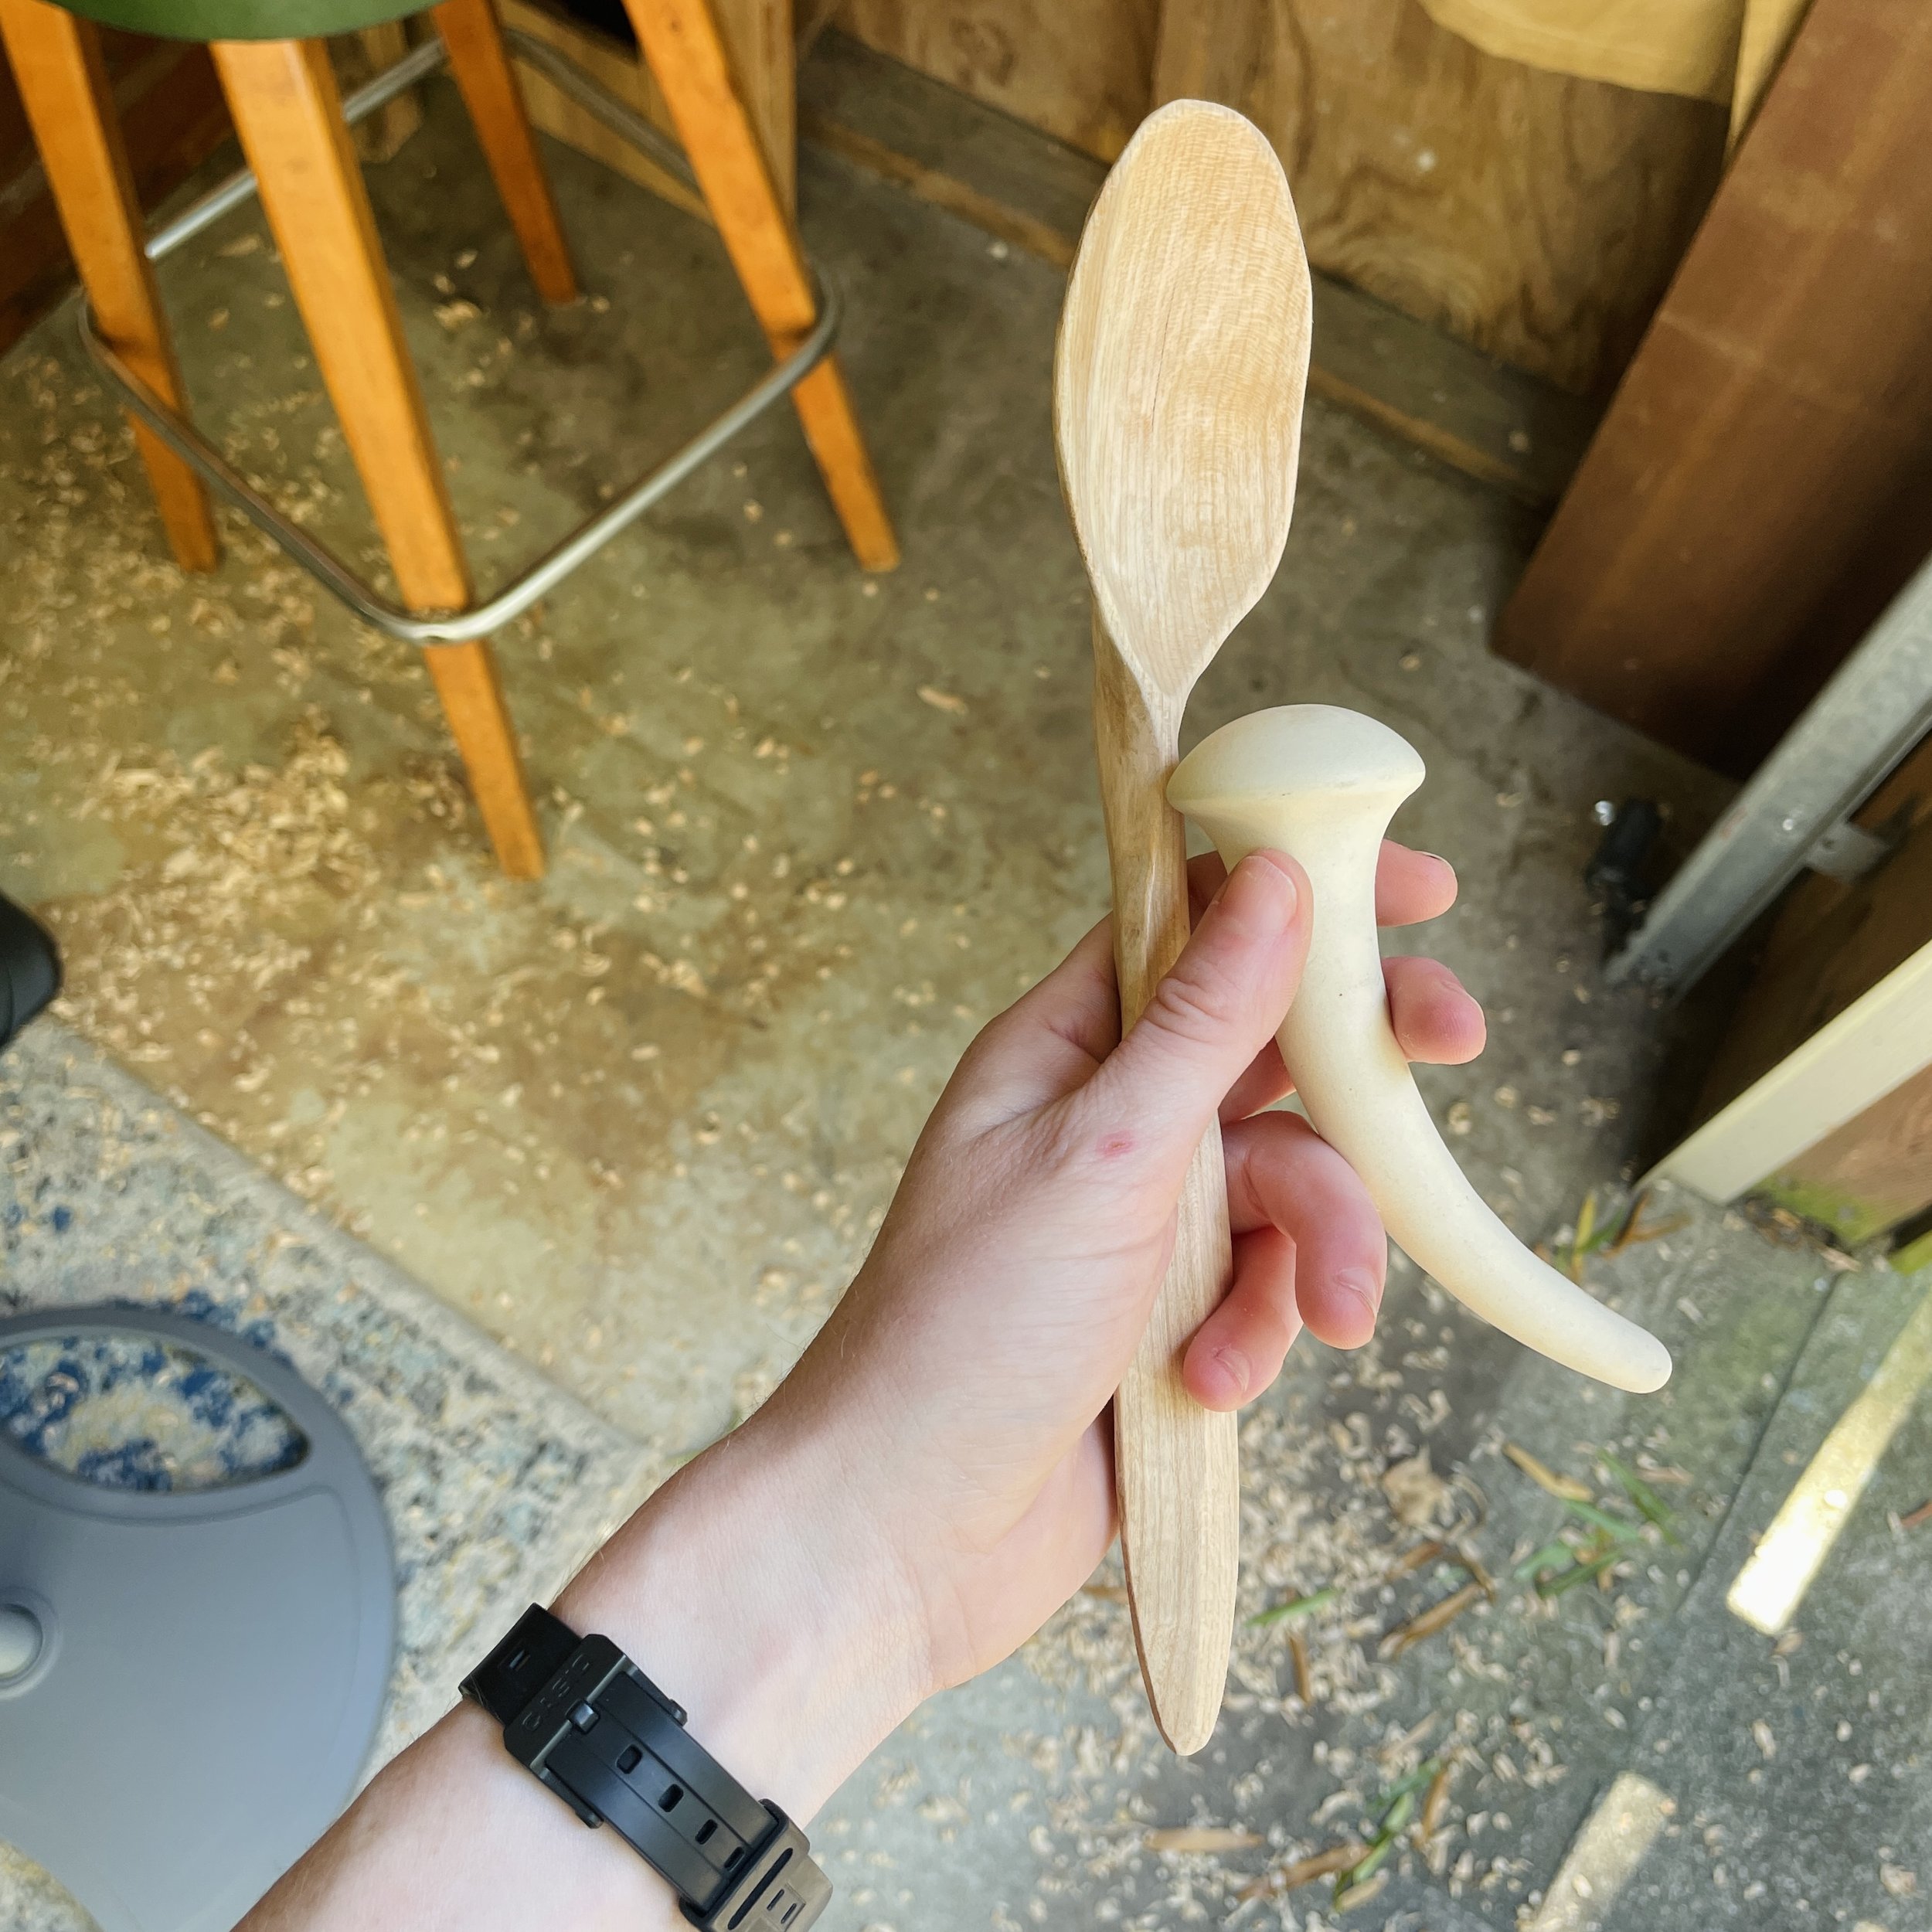
I buck up the wood. Yes, with an axe. Then I use this nifty hatchet to get the rough wood down to the shape I want. After, using some fancy (very sharp) knives, I whittle what eventually becomes a spoon (or spatula, or whatever I want it to be).
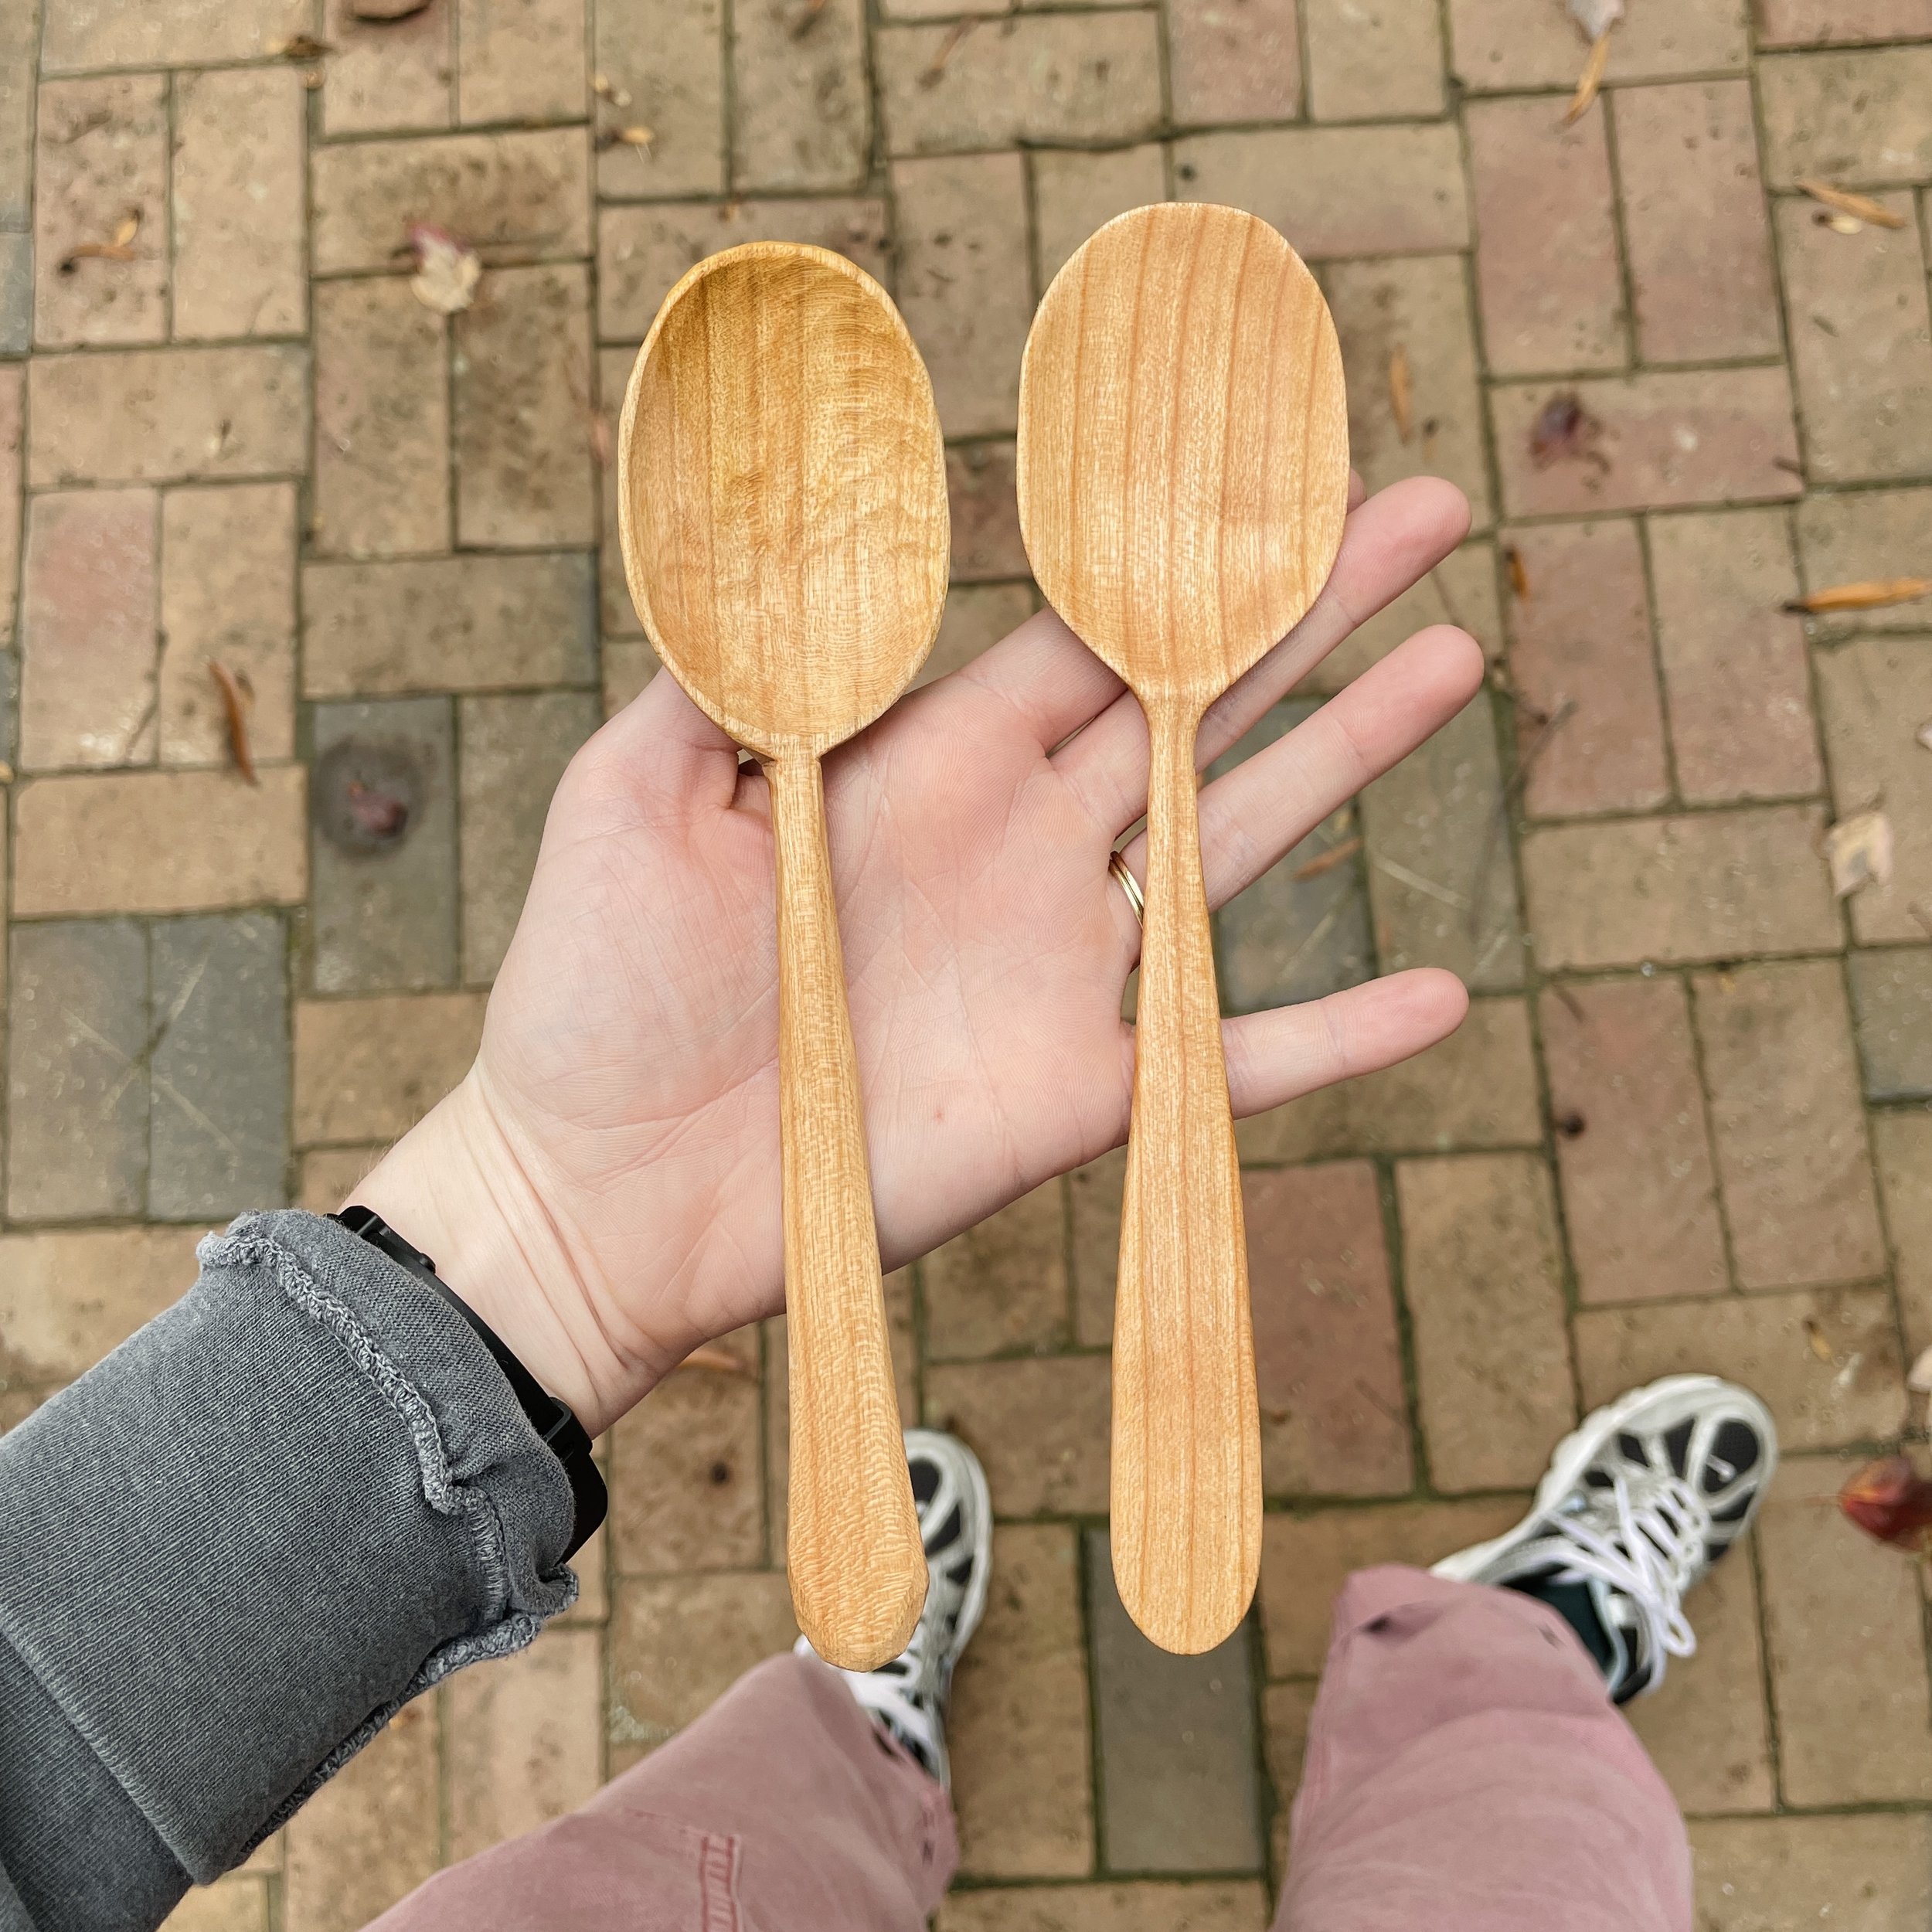
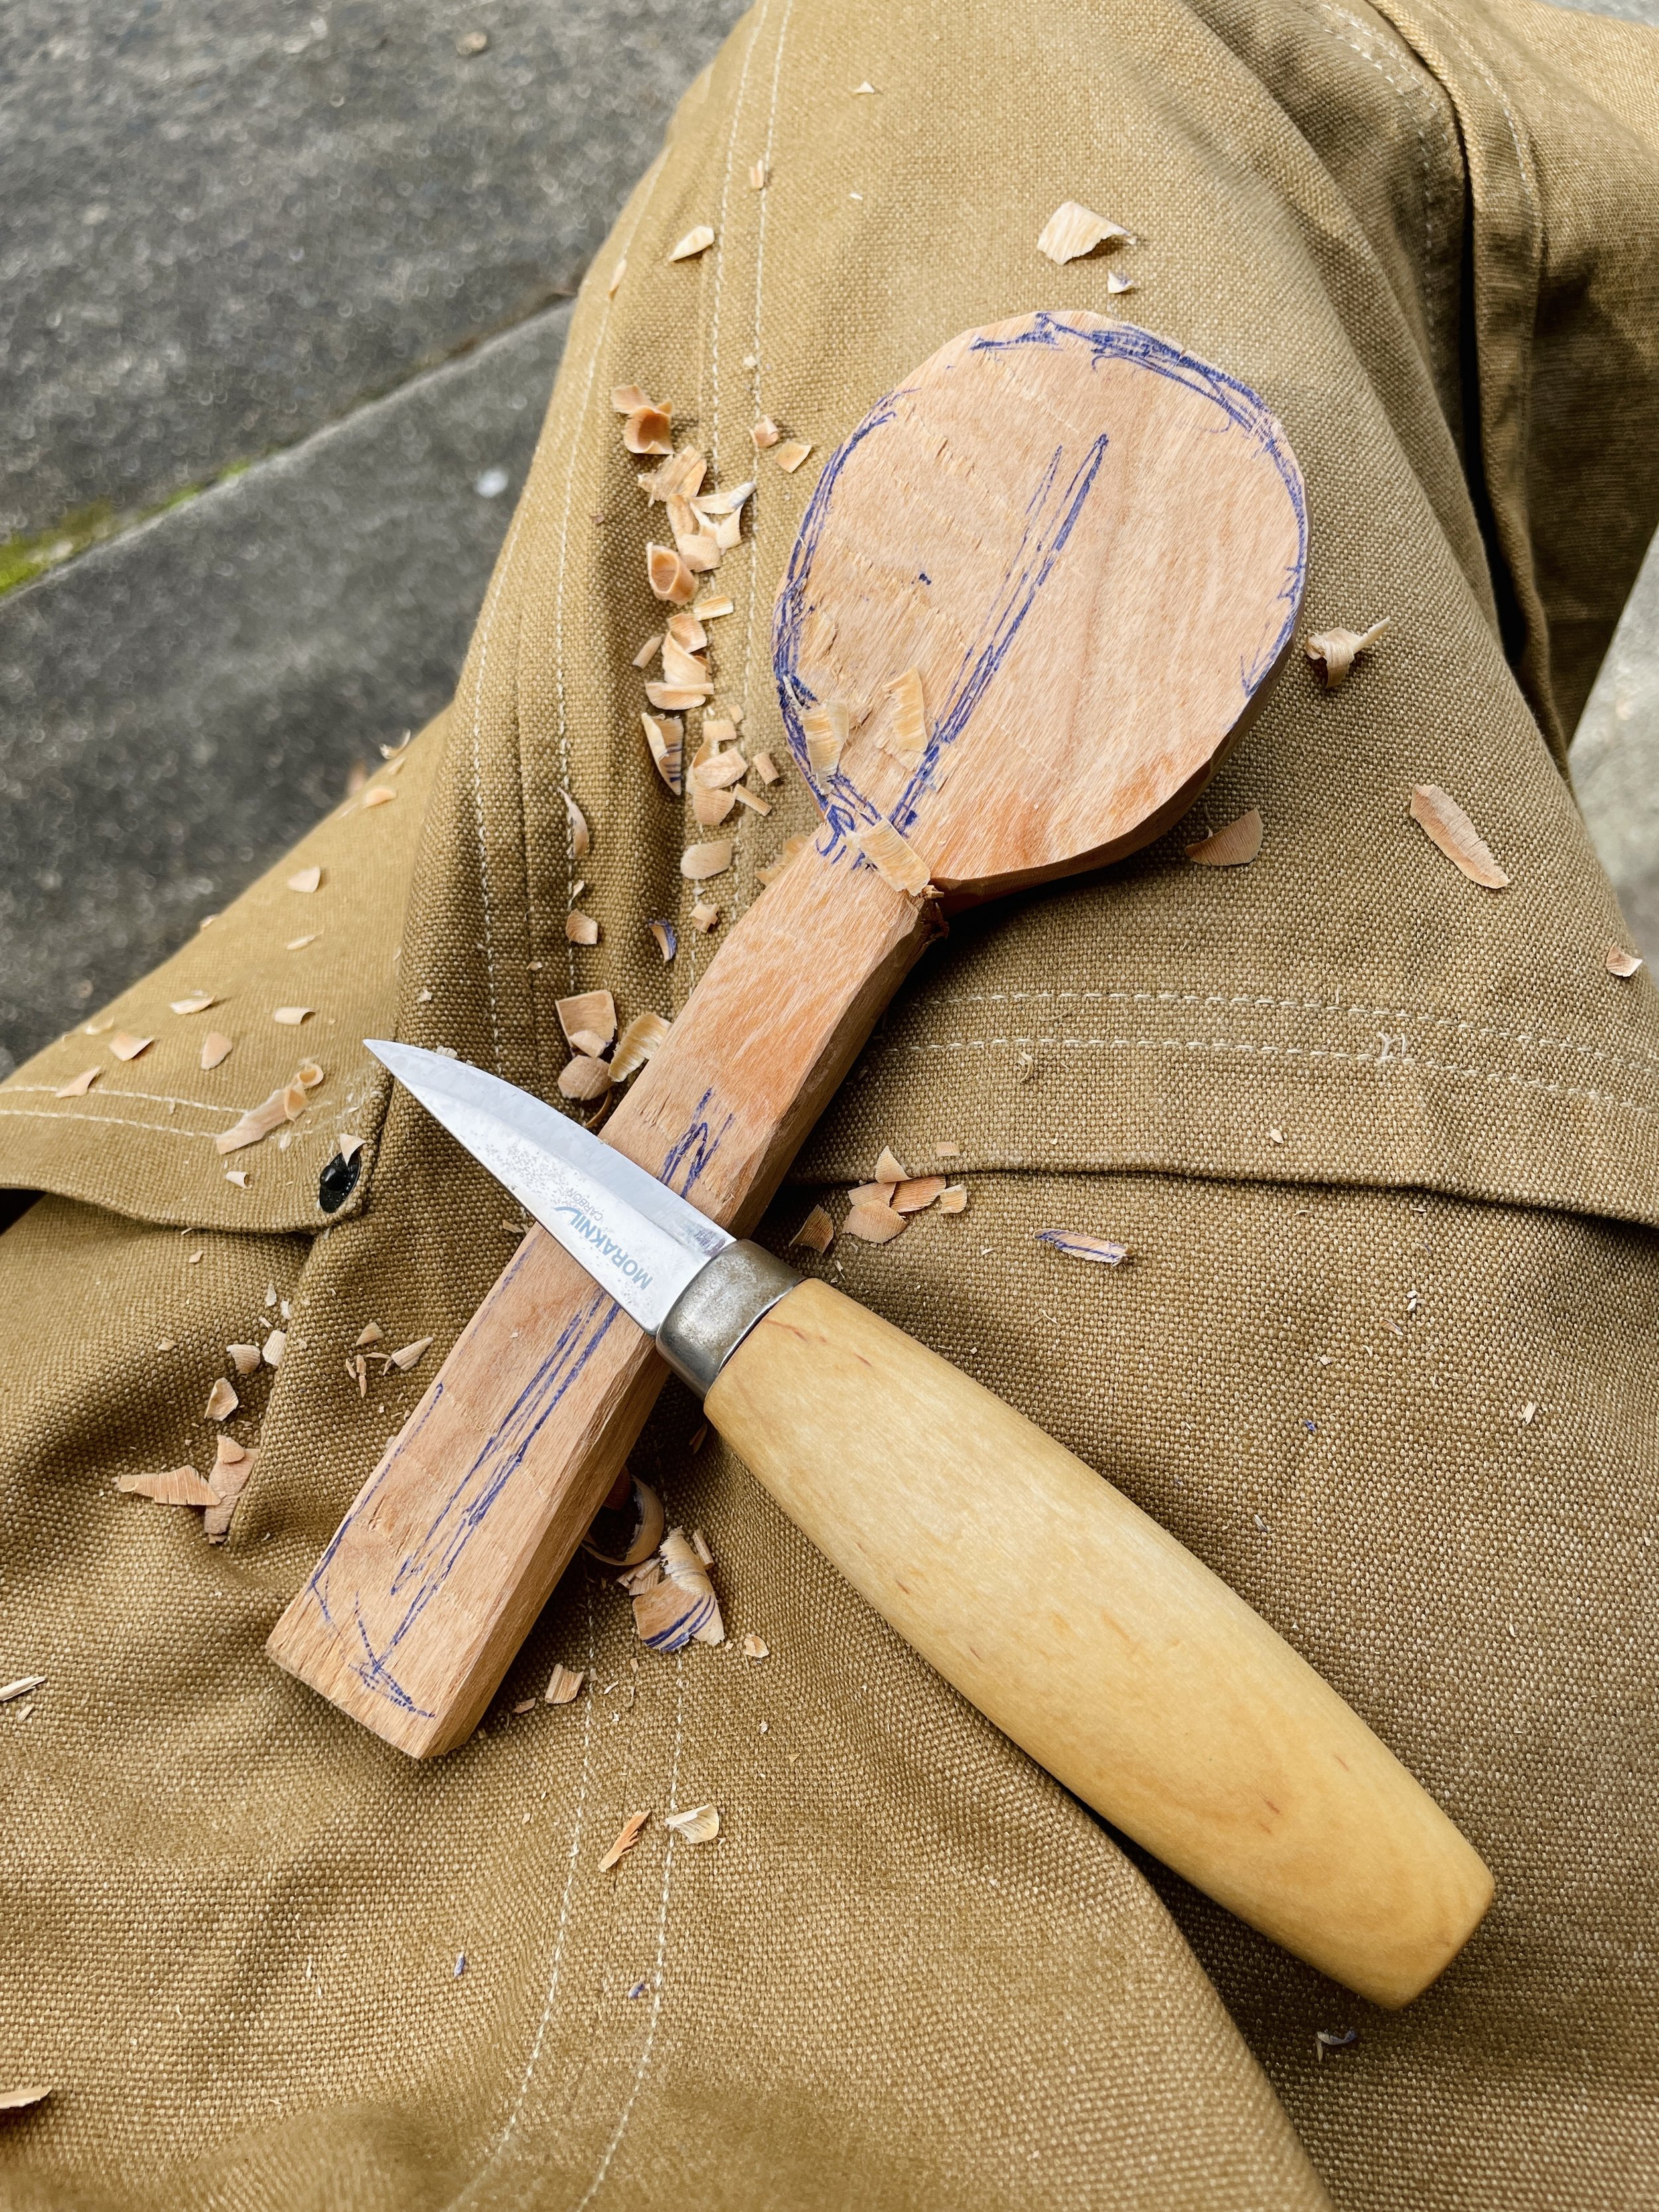
There are a lot of different opinions on how you should properly finish a spoon. Sharp knife finish or sanded smooth? Should you burnish? Oil or wood wax? I believe it comes down to preference – mine, and the future spoon user. I prefer sharp knife finish – a more rustic finish, but Ivy (my wife) prefers a smooth, refined sanded finish. You can see the difference in the picture above – my spoon on the left, hers on the right. Either way, I burnish all of my spoons before applying a food-safe citrus oil based mix from The Real Milk Paint Co. Sometimes I use wood wax or butchers block oil, depending on the type of wood, moisture level, and the use of the utensil. I will include finish in the product description!

Who doesn’t love unwrapping a cute present? None of what I make is fast. So the packaging is also thoughtful, custom, and adds a little touch to make receiving a hand-carved spoon even more special.